Installing Evolution Misting Systems in your home or business is a project that you can undertake on your own with the right tools and guidance. This DIY guide will walk you through the steps to ensure a successful installation.
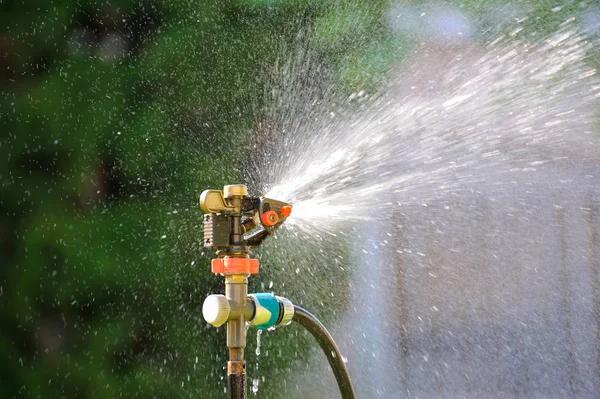
Before beginning, it’s essential to understand what an evolution misting system is. It’s a cooling device that sprays fine water droplets into the atmosphere, reducing ambient temperatures by up to 30 degrees. These systems are excellent for outdoor spaces like patios, decks, and pool areas where traditional air conditioning isn’t practical.
The first step in installing an evolution misting system is determining where you want the system installed. The location should be somewhere high enough so people won’t run into it but low enough that the mist can reach everyone comfortably. Ideally, install the system about 8-10 feet above ground level.
Next, measure out how much tubing you’ll need for your specific layout. Remember to account for corners and extra length for attaching to your water source and mounting brackets. Once measured, cut your tubing accordingly using a sharp utility knife or tube cutter.
After cutting the tubes, assemble them by connecting each piece with compression fittings or push-lock connectors supplied with most kits. Ensure each joint is secure to prevent leaks down the line.
Now comes time for mounting brackets – these hold up your tubing around perimeters of space being cooled. Space them evenly along tubing every two feet or so depending on manufacturer’s instructions; this ensures proper support throughout entire system length.
Once everything’s assembled and mounted properly, attach one end of tubing securely onto an outdoor faucet or directly into main water supply line if preferred (this may require additional plumbing work).
Then connect other end of tube onto misting nozzle assembly which should be mounted at height determined earlier – again making sure all connections are tight and leak-free before proceeding further.
Finally turn on water supply gradually checking all joints for any potential leaks; adjust pressure until fine mist starts spraying out of nozzles. If you notice any leaks, turn off the water supply and tighten the connections before trying again.
After everything’s installed and working properly, remember to maintain your system by cleaning it regularly with appropriate cleaners to prevent mineral build-up which can clog nozzles over time.
Installing an Evolution Plumbing and Misting System is a relatively straightforward DIY project that provides immediate benefits. By following these steps, you will be able to enjoy a cooler outdoor space during hot summer months while adding value to your property.
Remember that safety should always come first when undertaking a DIY project like this; if at any point you feel uncomfortable or unsure about what you’re doing, don’t hesitate to call in a professional for help.
Evolution Plumbing and Misting
1556 S Chaparral Blvd, Gilbert, Arizona 85296
480-418-1614


